Admin Guide
Creating a Dedicated Account for Power Automate flow
1. The display name and email address of the service account will be visible in the From field of outgoing email notifications. Choose a clear, recognizable name that reflects the application or system.
2. The account must be a licensed Microsoft 365 user. Unlicensed accounts do not have a mailbox in Microsoft Exchange and therefore cannot be used to send email notifications.
Steps
-
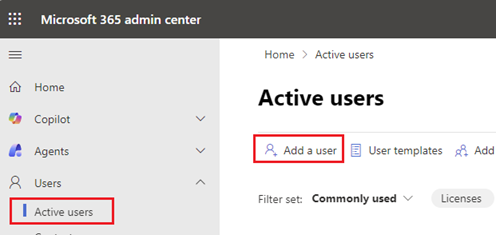
Open Microsoft 365 Admin Center and navigate to
Users → Active users.
-
Create a new Microsoft 365 user account, for example:
- Display name: SharePoint Online Notifications (or app specific name)
- Username / Email: no-reply@yourdomain.com
Once the account is created, you can proceed to the next step: creating the Power Automate flow.
To do this, log in with the newly created Microsoft 365 account and click the Create Power Automate Flow link in the app.
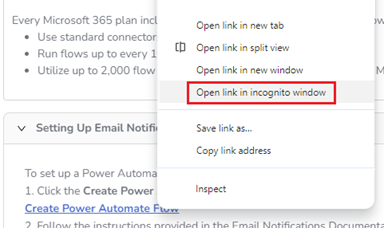
Alternatively, you can copy the flow creation URL from the app and open it directly in a separate browser tab (for example, in Incognito/Private mode) while logged in as this account.
 Once the flow is created, it will be owned and executed by the service account,
and all outgoing emails will use the service account’s display name and email address
as the sender.
Once the flow is created, it will be owned and executed by the service account,
and all outgoing emails will use the service account’s display name and email address
as the sender.