Asset Manager Pro is a fully integrated asset management solution for Microsoft 365 designed to streamline asset management within organizations.
  • Fully Functional Trial: Explore all the features with a no-credit-card-required trial.
  • Secure Data Storage: All your data is stored on your Microsoft 365 tenant.
  • Unlimited Users & Assets: Enjoy unlimited regular users and assets.
  • Flexible Payment Models: Choose between an annual subscription or a lifetime license with a one-time fee.
  • Free Updates & Support: Stay up-to-date with the latest enhancements and receive free expert support.

Plans and Pricing


Asset Manager Pro is sold in two billing models: Annual Subscription (paid once a year), the pricing works per group of agents (technicians or administrators) and Lifetime License for unlimited agents (one-time fee). Click here to read more about billing & payments.
Annual Subscription
USD
500
/year

and unlimited end-users
The above price reflects the total expense for the app instance (NOT per agent) and includes:
  • • App updates
  • • App support (No limit for support tickets)
  • • Access to all app features
Lifetime License
USD
2000
one-time fee
for unlimited agents and end-users
The above price reflects the total expense for the app instance (NOT per year) and includes:
  • • App updates
  • • App support (No limit for support tickets)
  • • Access to all app features
Key Features

  • Asset tracking - allows you to track the location, condition, and status of your assets. You can assign unique identifiers to each asset (e.g. barcodes) and track important details such as vendor, warranty end date, and attachments (documentation) related to each asset type.
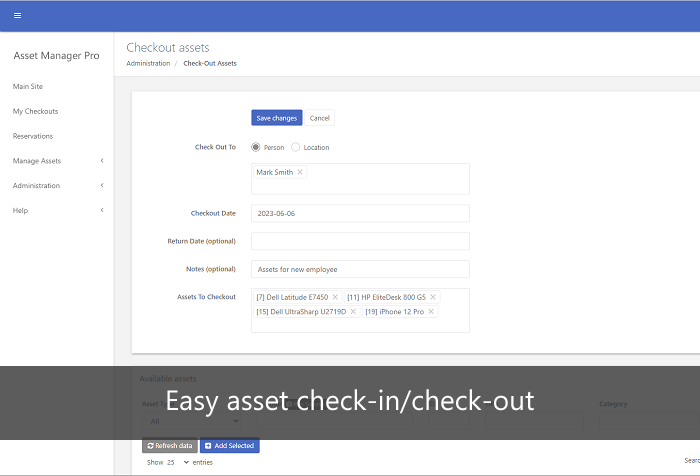
  • Check-in/check-out - makes it possible to reduce the time spent passing out and receiving assets, supports asset database searches (e.g by barcode or asset name) and checking-out multiple assets to multiple assignees in a single transaction.
  • Asset reservations - employees can book shared assets (e.g. conference rooms, projectors, etc.) in a user-friendly calendar view, which helps employees know what resources are available and when.
  • Managing asset-related metadata - allows administrators to manage a database of vendors, locations, and departments and assign it to the asset.
  • Camera barcode scanner - allows scanning barcodes or QR codes by using a camera.
  • Asset audit log - all asset changes are available in the audit log with changes history (e.g. who and when created, deleted or changed an asset).
  • Custom asset types - allows you to create different asset forms (e.g.IT Hardware, Conference Room, etc.) with specific custom fields.
  • Customizable asset fields - administrators can quickly build asset forms with numerous field types such as Text, Choice, Number, etc.
  • Reporting and analytics - allows you to generate reports and analyze data related to your assets.
  • Role-based access control -allows you to set up the level of access that users have to the the app.
  • Email notifications - configured email notifications for asset changes (creation,status change, assigment changes. etc).
  • Email reminders via Power Automate - allows create reminders about return date, warranty end date or other events.
  • Barcode generation - allows to generate & print barcodes or QR codes.
  • Custom views - allows for the creation of custom views, by specifying the data table columns and criteria to filter
  • Integrated SharePoint list - allows third-party integrations via MS Power Automate.
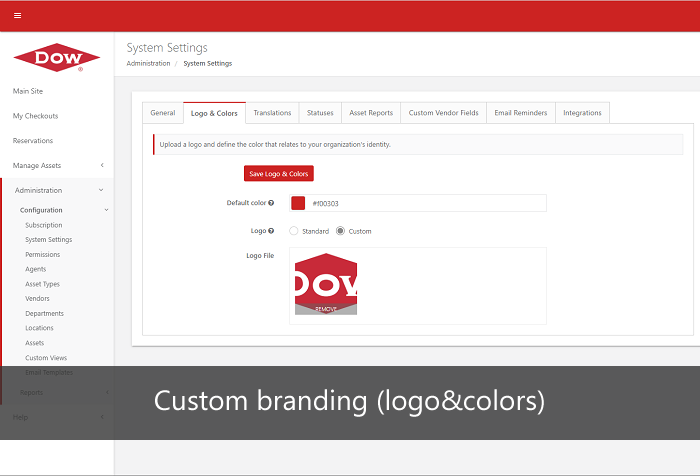
  • Custom branding - you can custom brand your logo and colors.
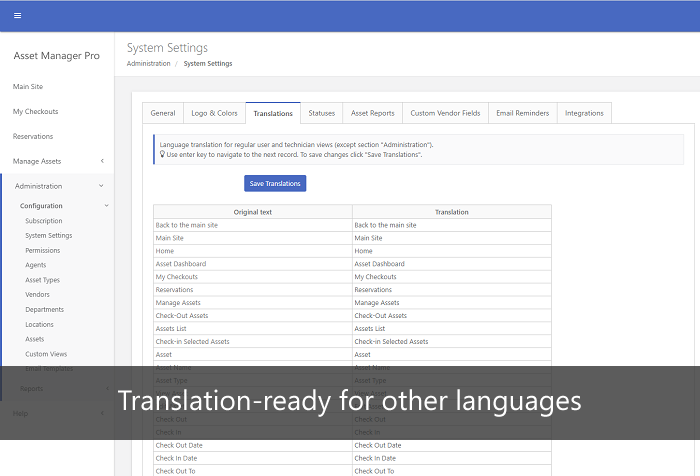
  • Translation-ready for other language - allows language translation for regular user and manager views (except "Administration").

Integrations

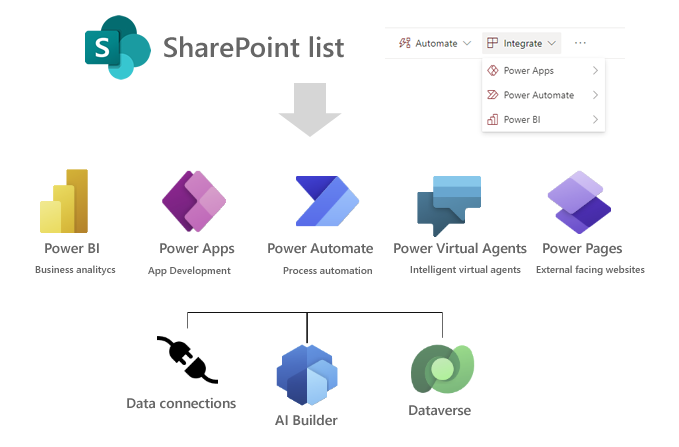
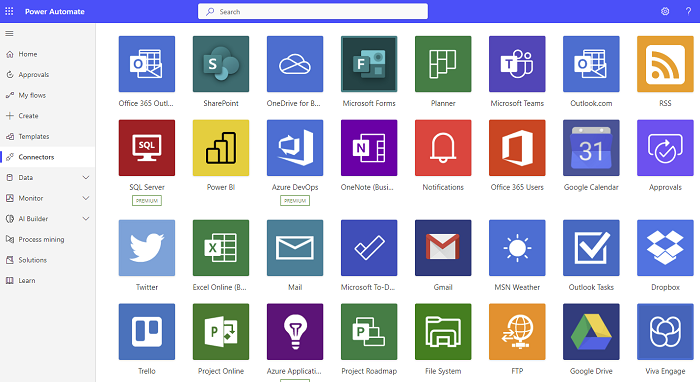
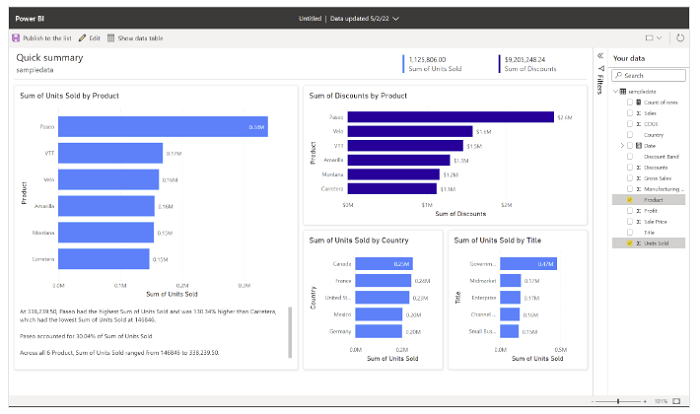
Asset Manager Pro contains a feature called "Integrations" that export data to the SharePoint list. Leveraging this SharePoint list unlocks the full potential of Microsoft 365's Power Platform. Employ Power Automate for automated workflows and seamless communication with external platforms. Utilize Power BI for in-depth data visualization and analysis. Click here for more information.

Why Us

3700
Customers worldwide
11
Years on the market
15
Apps in the Office Store
We are recognized by Microsoft as the winner of the prestigious "Office 365 App Award" (2015 edition) in the category of "Best User Interface."

Contact Us

Have questions or need assistance with our app? We're here to help! Reach out to our support team at or use the contact form to get in touch. We strive to provide prompt and friendly assistance to ensure you have a seamless experience with our app.

Product FAQ

After successful installation, the app is located on the SharePoint Site Contents.
First, enter the app (first page) and copy the full URL from the browser's address bar into the clipboard (Ctlr+C).
The copied app URL will be useful in the following instructions.

Pin app to the SharePoint Site menu

Step 1) Go to the SharePoint Site
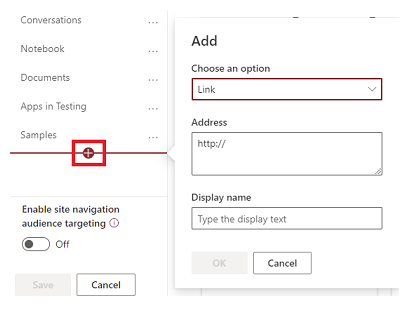
Step 2) Click "Edit" on left or top SharePoint menu and add link to the app
Details are described in this document, steps are different depends on the SharePoint UI type (classic view/modern view)
PinApp3

Pin app to MS Teams as a new tab

Step 1) Open MS Teams
Step 2) Click "+" icon to add a new tab
PinMSTeams1

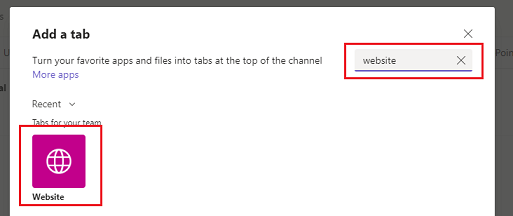
Step 3) Type 'website' in the search box to find an item "Website"
PinMSTeams2

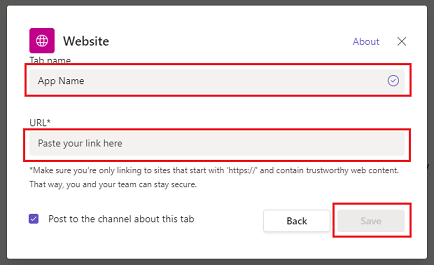
Step 4) Enter tab name, copy&paste above app URL (Method 1 or 2) and click Save button
PinMSTeams3


Pin app to the Office 365 app launcher

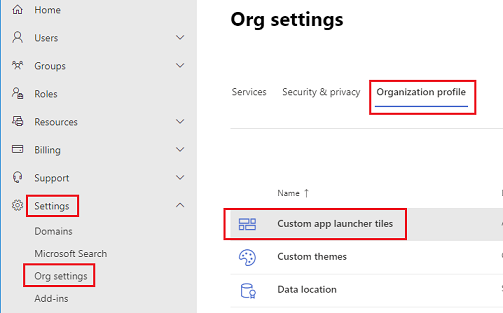
You can add custom tile to the app launcher under Office 365 Admin Center->Settings->Organization profile page.
PinApp4

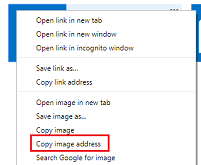
Details are described in this document. To get logo URL required to create new tile on app launcher you can click right mouse button on app icon (SharePoint Site Contents) and select "Copy image address"
PinApp5

Please use instructions from this guide to install the app via app installation package (SFPx) and SharePoint App Catalog.

App is 100% SharePoint-hosted - all data is stored securely on the customer's SharePoint environment.
App's data is never leaving your SharePoint env, we don't have access to your data and we never see it.

Asset Manager Pro offers four predefined user roles:

  • Regular user - can see assets assigned to yourself and create reservations (depending on the permissions setup in the app)
  • Agent with Technician role - can manage all assets created from assigned templates under the "Manage Assets" section.
  • Agent with Administrator role - can manage assets created from assigned templates under the "Manage Assets" section and all assets under "Administration" section

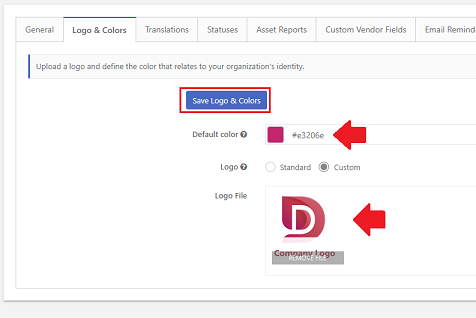
You can custom brand your logo and color under Administration->Configuration->System Settings->tab "Logo&Colors".
To upload own logo you need to:
a) switch setting "Logo" to the value "Custom"
b) click on area "Logo File" (or use drag&drop) to upload logo file.
c) click on button "Save Logo&Colors"

To change blue theme to another you need to click on color picker (setting "Default color"), select your color and click on the button "Save Logo&Colors".

Change theme

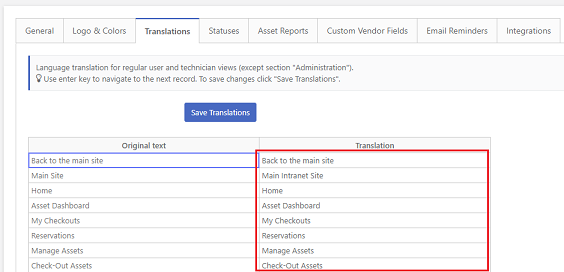
You can translate an app under Administration->Configuration->System Settings-tab "Translations".
Translations
Language translation is available for regular user and manager views (except section "Administration").

To get more information about subscription and payments please read Billing & Payments FAQ

App update process is described here and also on our Technical FAQ, question "How to update SharePoint app?"

User list is pulled from SharePoint User Information List (built-in SharePoint feature, here is more info)
SharePoint user is added to the User Information List after first login to the SharePoint Site.
After first login, user will be visible in the user's drop-down list.

Data is stored on the SharePoint list, you can store up to 30 million assets.

Barcode scanner in the app supports following formats: UPC(A),CODE128,CODE9,EAN13,EAN18,ITF14 and QR codes.

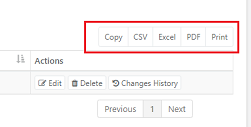
Table export is supported for all the objects in the app (columns displayed in data tables). To export or print data, click the proper button in the top-right corner, above the data table.
Table export

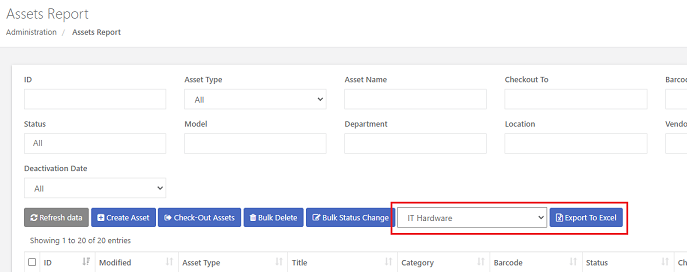
Additionally, there is full asset export to MS Excel (all standard fields + custom fields.)
Full export

The app allows import assets import from MS Excel spreadsheet.
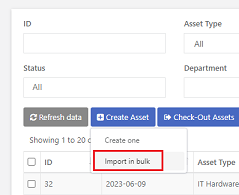
To import assets, click the button "Import in bulk" under Administration->Reports->All Assets.
Ticket import

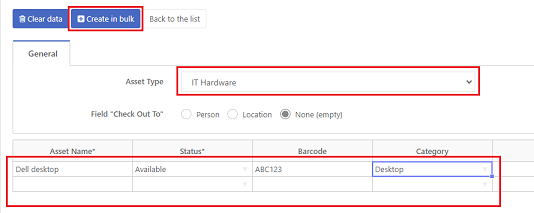
First, you need to select Asset Type and optionally change radio button "Check Out To" if you want to assign asset(s) to user or location.
Records to import must be copied from MS Excel by using Ctrl+C (copy to clipboard), then you need to select the first cell in the sheet and use Ctrl+V (paste from clipboard).
When data is ready to import, click the button "Create in bulk"
Ticket import

The app allows for creating custom fields for asset form. One of the custom field types is "Choice from External SharePoint List" which allows to dynamically populate the Choice Field options from the external SharePoint list on the parent SharePoint Site.
To configure this type of field, you need to change the "Type" field to the value "Choice from External SharePoint List", afterward select list name from the drop-down and enter column name from which app will get data.

External list

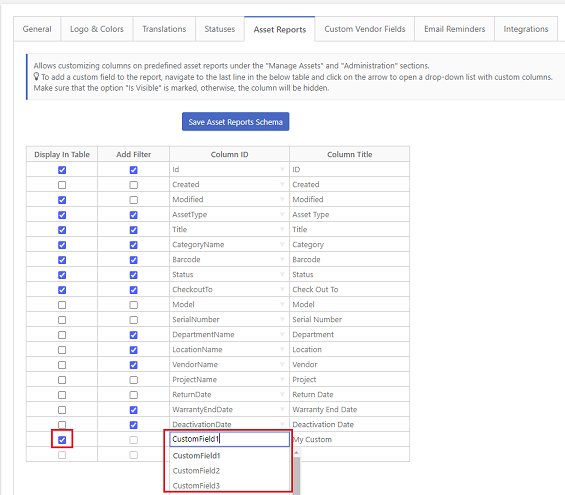
The app allows adding a custom form field to the agent reports that shows all tickets.
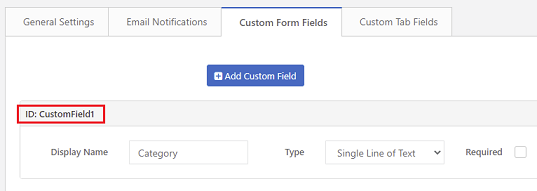
Step 1) Go to Administration->Configuration->Asset Types->Edit->tab "Custom Form Fields" to check what is "ID" of custom form field (e.g. CustomField1)
Custom column 1

Step 2) Go to Administration->Configuration->System Settings->tab "Asset Columns", click on empty row at the bottom of the data table and select custom field from the drop-down list. Make sure that the column "Display In Table" is marked.
Custom column 2

Step 3) Click button "Save Assets Reports Schema" to save changes.